Microsoft ended support for Internet Explorer on June 15, 2022. While this step was taken for good, many users still want to use Internet Explorer on their Windows 11 computers.
While there are better options than Internet Explorer for browsing the web, governments and several finance companies still require Internet Explorer.
Microsoft officially retired Internet Explorer and introduced a new feature-rich web browser called Microsoft Edge. Not only that, but the Microsoft Edge browser for Windows also has an IE Mode that lets you load old websites that require Internet Explorer.
Enable Internet Explorer on Windows 11
So, if you are looking for ways to enable Internet Explorer on Windows 11, you have landed on the right page. Below, we have shared a few simple methods to enable and use Internet Explorer on Windows 11. Let’s get started.
Important: Some methods may not work on the latest version of Windows 11. However, all of them will work if you use the stable version of Windows 11.
1) Run Internet Explorer from the Internet Options
Even though Microsoft ended the support for Internet Explorer, the web browser still resides in the operating system. However, you won’t find it on the Windows Search or Control Panel.
You need to rely on Internet Options to access the hidden internet explorer on Windows 11. Here’s how you can run Internet Explorer from Internet Options.
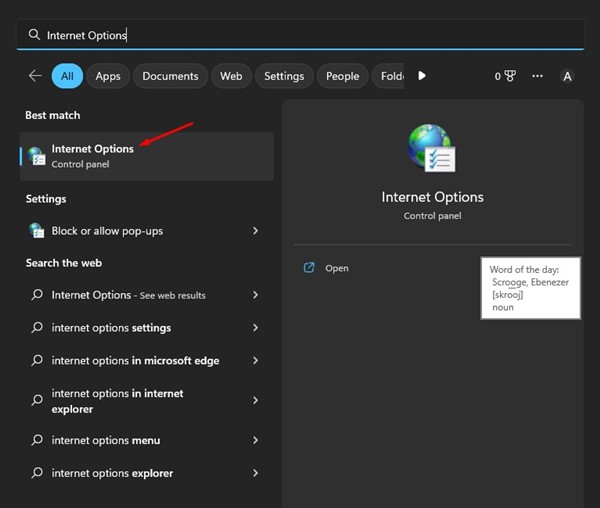
1. First, click on the Windows 11 search and type in Internet Options. Next, click on Internet Options from the list of apps that appear.
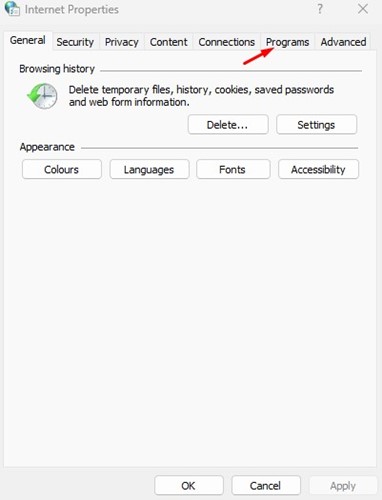
2. Clicking on Internet Options will open Internet Properties. Here, switch to the Programs tab as shown below.
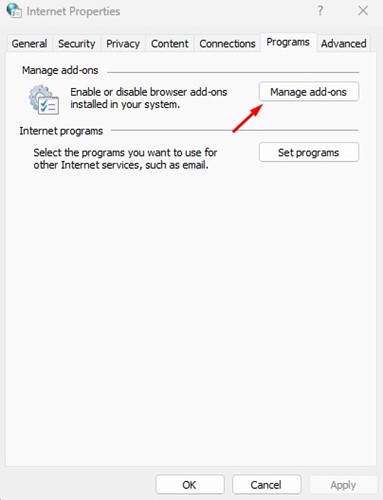
3. Click on the ‘Manage add-ons‘ button on the Programs.
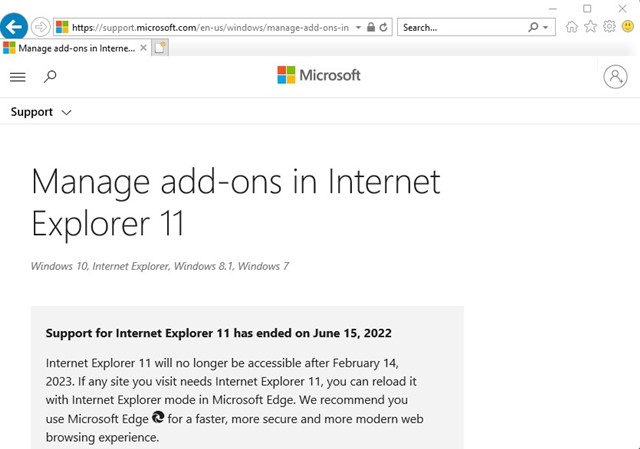
4. On the Manage Add-ons window, click the Learn more about toolbars and extensions link in the bottom left corner.
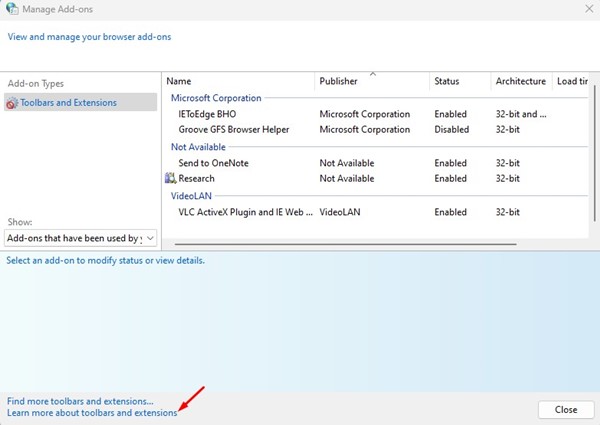
5. This will launch Internet Explorer. You can now use the full-fledged Internet Explorer on your Windows 11.
So, this is the easiest way to access Internet Explorer on Windows 11 computer.
2) Use Internet Explorer via IE Mode in Edge
The latest version of Microsoft Edge has an IE mode feature that makes the web browser backward compatible with millions of older websites. If any site requires Internet Explorer, you can use the IE mode in the Edge to access those sites.
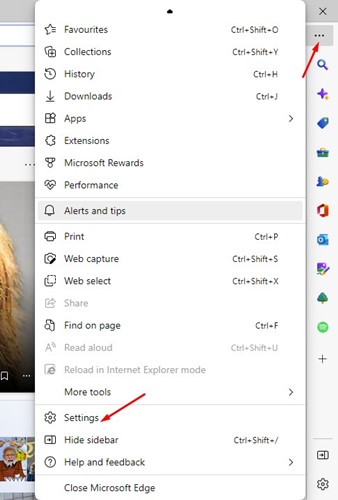
1. First, launch the Edge browser on your computer. Next, click on the three dots and select Settings.
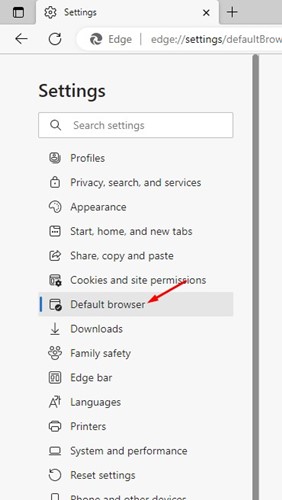
2. On Settings, switch to the Default browser tab.
3. Next, on the right side, click on the drop-down menu beside ‘Allow sites to be reloaded in Internet Explorer mode (IE Mode)‘ and select ‘Allow‘.
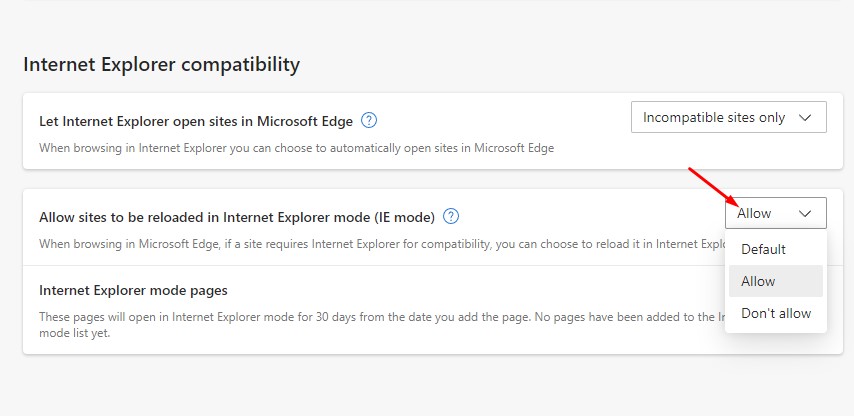
4. Once done, click the Restart button to restart the web browser.
5. After the restart, open the website you want to use in Internet Explorer. Right-click on the tab and select ‘Reload tab in Internet Explorer Mode’
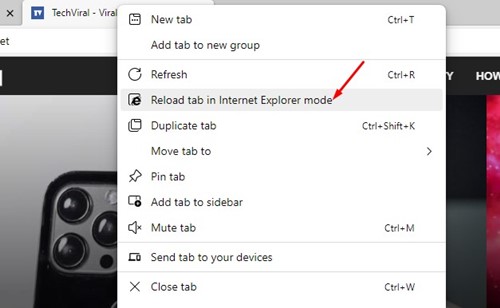
That’s it! This will immediately open the website in IE Mode. When the site opens in IE Mode, you will find the Internet Explorer icon on the left side of the URL bar.
Note: If you cannot find the IE Mode in the Microsoft Edge browser, you need to install the Microsoft Edge updates. The feature is available on the latest version of the Edge browser only.
3) Open Internet Explorer on Windows 11 via VBS Shortcut
A VBS Script lets you open Internet Explorer in its original UI on Windows 11. However, the VBS Script may not work on the latest Windows 11. Here’s how to create a VBS Shortcut to open Internet Explorer on Windows 11.
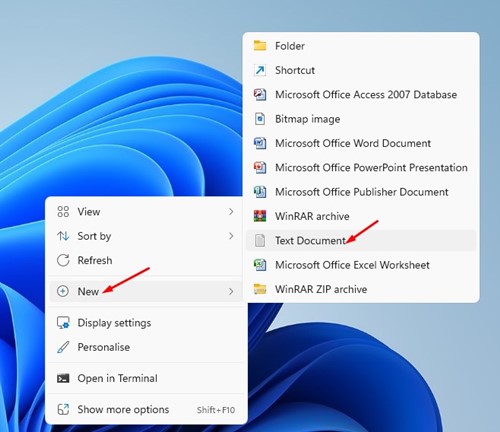
1. Right-click on a blank space on your desktop and select New > Text Document.
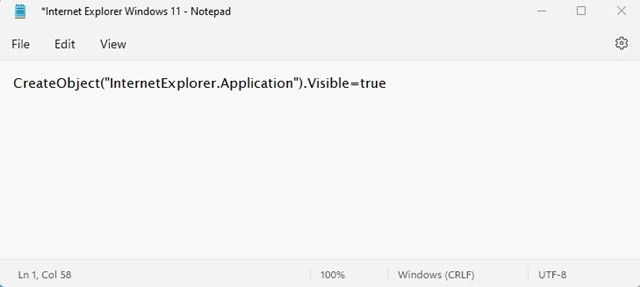
2. You need to paste the script into the Notepad that opens.
CreateObject("InternetExplorer.Application").Visible=true
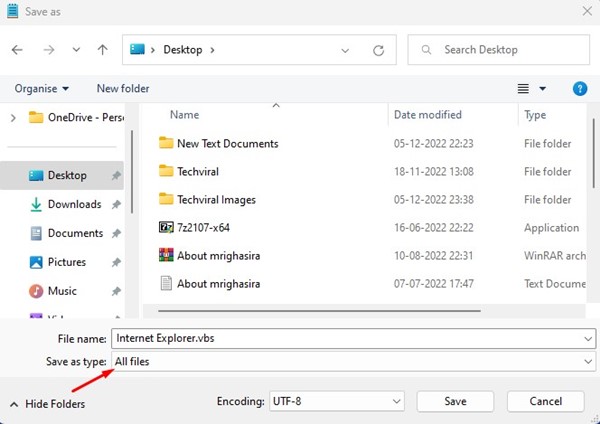
3. Once done, click on the File menu and select the ‘Save as‘ option.
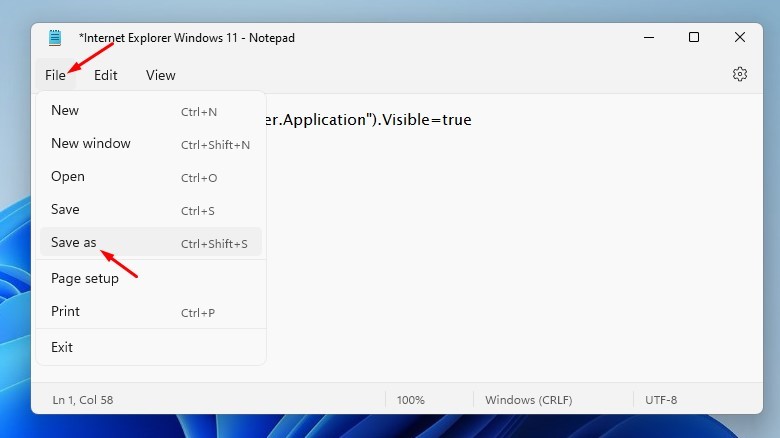
4. On the Save As prompt, enter the file name ‘Internet Explorer.vbs‘. On the Save as Type, select ‘All Files‘. You can name the file anything; make sure it ends with .vbs extension.
5. Now, move to your desktop screen and double-click on the VBS file you’ve created. This will open Internet Explorer on your Windows 11 computer.
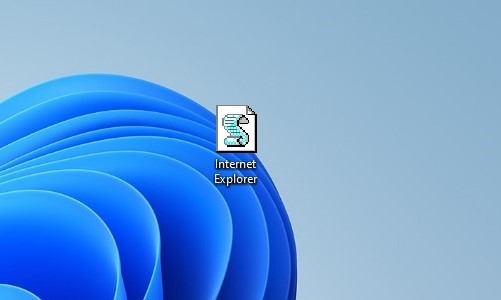
That’s it! You can create a VBS file on Windows 11 to open Internet Explorer.
Also Read: How to Install Windows 11 Without Microsoft Account
So, these are the three easiest methods to open Internet Explorer on your Windows 11 computer. The methods we have shared are very easy to follow. If you need more help using Internet Explorer on Windows 11, let us know in the comments below.
The post How to Enable Internet Explorer on Windows 11 appeared first on TechViral.
