One of the most critical aspects of the Windows operating system is the drivers. Windows needs drivers for every hardware device that you connect to your computer. Without the correct driver, Windows won’t detect the hardware device.
If we talk about Windows 11, the operating system automatically downloads the latest device drivers during the Windows updates and installs the same. However, specific drivers needed to be installed manually to ensure the device’s proper functioning.
After installing the device drivers manually, you can use the Command Prompt utility of Windows 11 to create a backup of all drivers installed on your system. If you create a backup of your installed drivers, you will be able to use them in need.
Steps to Backup Device Drivers in Windows 11 using Command Prompt
Hence, if you are looking for an easier way to backup drivers on Windows 11, you read the right guide. This article will share a step-by-step guide on backing up drivers using the Command prompt in Windows 11. Let’s check out.
1) How to Backup Drivers using Command Prompt
We will use Windows 11’s Command prompt utility to backup all installed drivers. The process might take time, but it does the job of premium software for free. Follow some of the simple steps we have shared below.
1. First, click on the Windows 11 Search and type in Command Prompt. Right-click on the CMD and select Run as administrator.

2. On the Command Prompt window, execute the command shared below:
dism /online /export-driver /destination:"<destination_folder>"
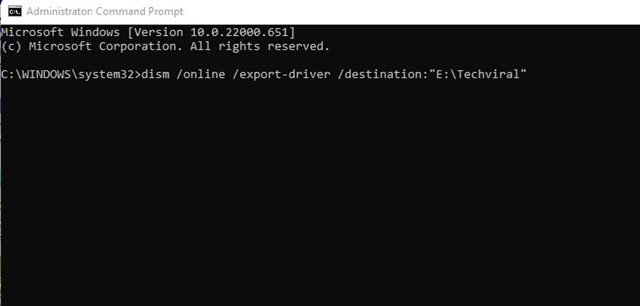
Important: Make sure to replace “<destination_folder>” with the destination path you would like to save the backup file.
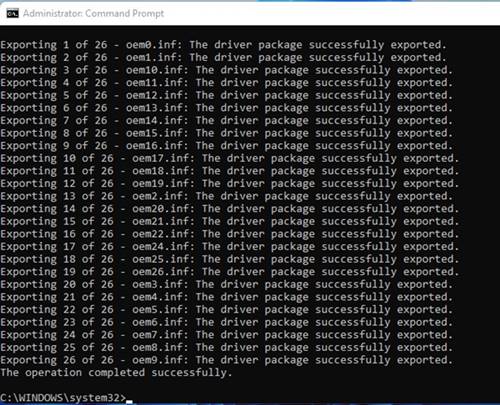
3. Command Prompt will take a few seconds to scan all installed drivers. Once scanned, it will backup the driver.
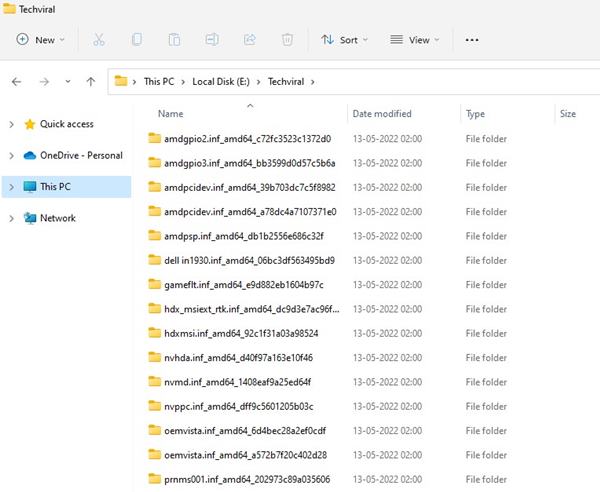
4. To confirm the driver backup, open the destination folder. You will see all your driver files in the folder.
That’s it! You are done. This is how you can backup all your installed drivers on Windows 11 via Command Prompt. You can keep the backup file in a safe location and reuse it when you feel the need.
2) How to Restore Drivers on Windows 11
If you wish to restore the device drivers, you need to follow some simple steps we have shared below.
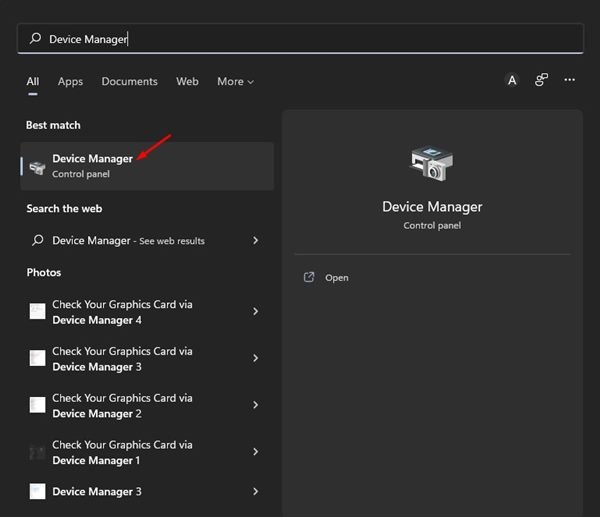
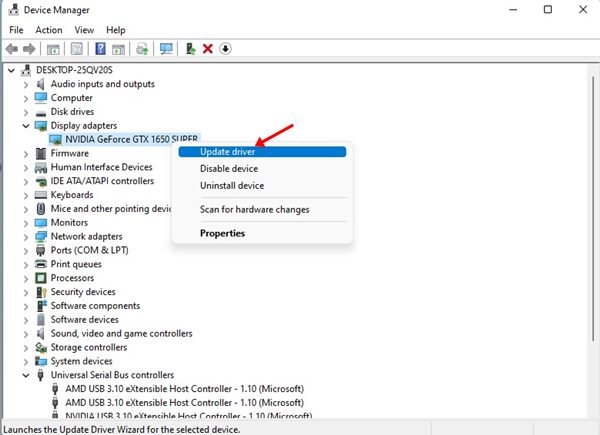
1. First, click on the Windows 11 search and type in Device Manager. Next, open the Device Manager app from the list.
2. On the Device Manager, right-click on the device you want to install the driver for. On the context menu, select Update driver.
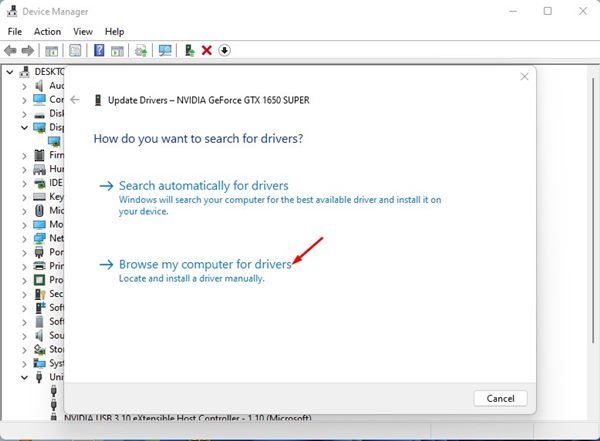
3. On the Update Drivers Window, select Browse my computer for driver software
4. On the next Window, click on the browse button and select the folder where the driver backup files has been stored.

5. If the backup file is stored in a subfolder, check the Include subfolders option. Once done, click on the Next button.
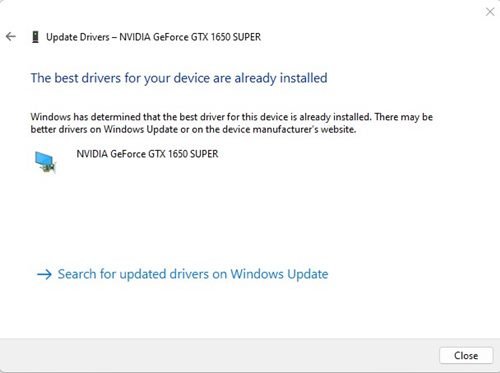
6. Now, the Device Manager will automatically scan the folder and install the appropriate driver.
That’s it! You are done. This is how you can restore drivers from the backup file created using Command Prompt.
It’s pretty easy to backup drivers using Command Prompt on Windows 11. If you find this method complicated, you can use third-party driver updater software to update all your Windows 11 PC device drivers.
The post How to Backup/Restore Drivers in Windows 11 using CMD (Command Prompt) appeared first on Tech Viral.
