It doesn’t matter how good your PC’s headphones & speakers are; if you don’t install the correct sound driver, you will encounter sound-related problems. In fact, no sound will come from your PC’s internal or external speaker if no audio/sound driver is installed on the operating system.
Even if you have installed the correct sound driver on your system, it’s best to check for the available driver updates and install them periodically. If we talk about Windows 11, the operating system automatically installs the latest version of device drivers during the Windows updates.
However, Windows updates might fail in some cases, leaving your audio/sound driver outdated as it was before. Hence, if you face audio or sound driver problems in Windows 11, you might find this guide very helpful.
4 Best Ways to Install Audio/Sound Driver in Windows 11
This article will share a few best ways to install the Audio/Sound driver in Windows 11. We have shared multiple methods; you need to follow the one you feel comfortable with. So, let’s get started.
1) Install Sound Driver via Windows Update
As cited above, Windows 11 automatically downloads the correct and latest sound driver needed for your computer and installs the same. Usually, you don’t need to do anything; Windows 11 will attempt to update the driver while installing the system updates. However, if the driver installation fails, you need to force Windows updates to install the audio driver manually.
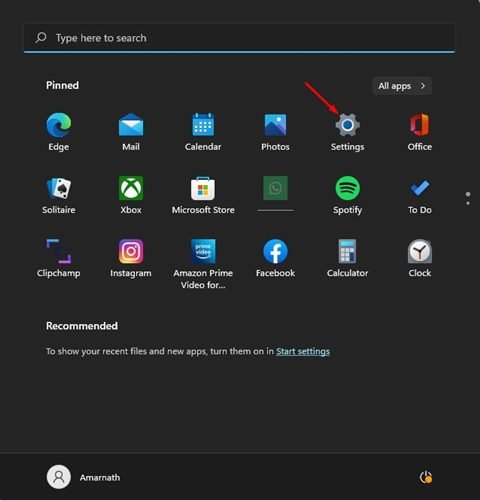
1. First of all, click on the Windows 11 start button and select Settings.
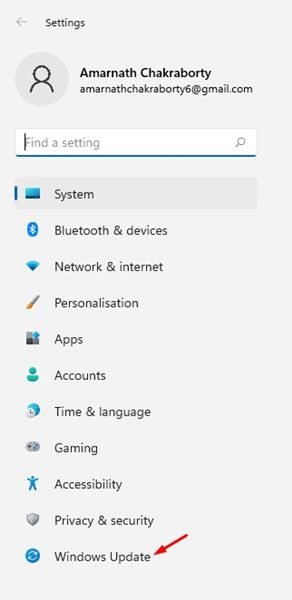
2. On the Settings page, click on the Windows Update on the left pane.
3. Click on the Check for updates button on the right pane.
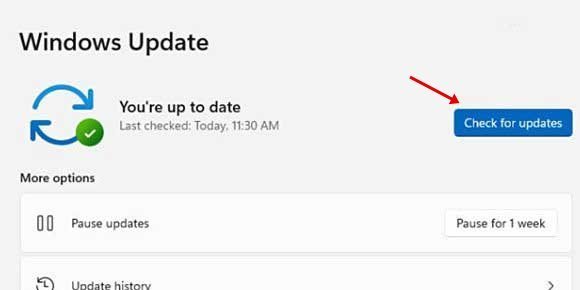
That’s it! You are done. Now Windows 11 will search for all much-needed drivers for your PC and install the same.
2) Update the Audio Driver from the Device Manager
We will use the Device Manager to update the Audio Driver in this method. You need to follow some easy steps shared below to update or install the Audio driver on Windows 11.
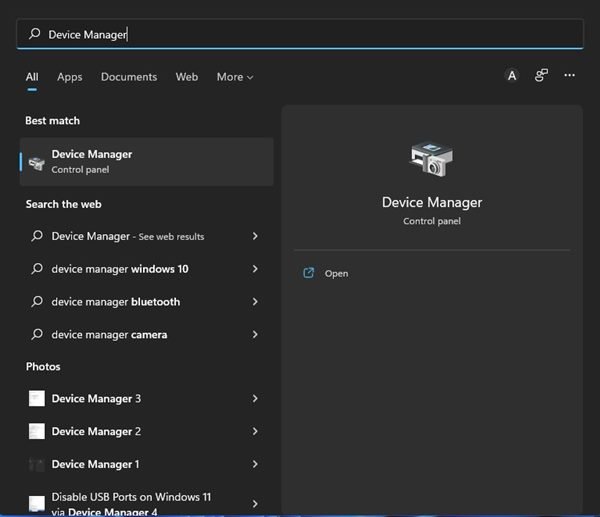
1. First, click on the Windows 11 search and type in Device Manager.
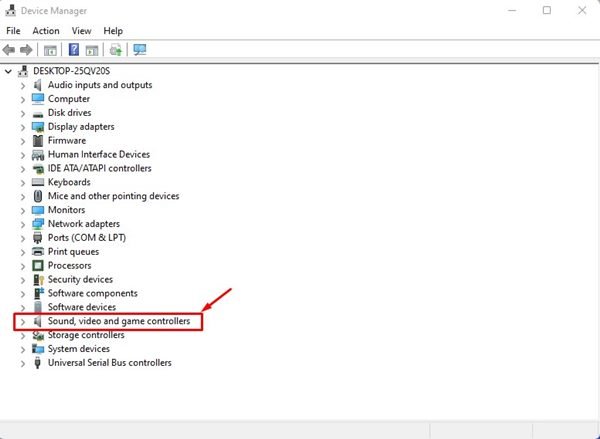
2. On the Device Manager, expand the Sound, video, and game controllers option.
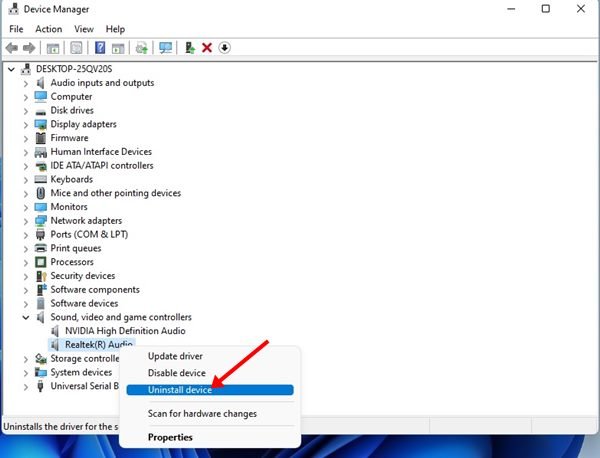
3. Now, right-click on the Audio driver and select Uninstall Device.
4. The audio driver will be uninstalled. Once uninstalled, restart your computer to install the driver again.
That’s it! You are done. This will automatically install the latest version of the Audio driver on your Windows 11 computer.
3) Manually Install the Sound driver on Windows 11
We will manually install the audio/sound driver from the manufacturer’s website in this method. Here’s how to manually install the sound driver in your Windows 11 operating system.
- First of all, open your favorite web browser and visit your PC’s manufacturer’s website.
- Next, you need to type in your PC/Laptop’s model number.
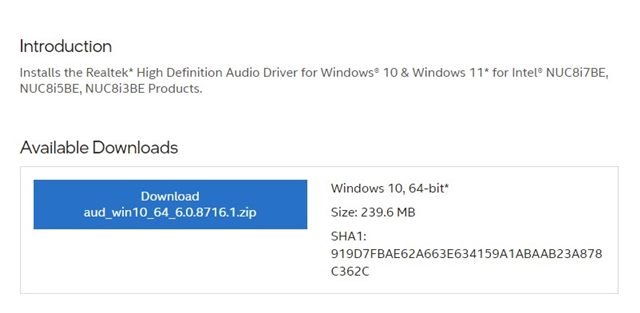
- Now you will see a list of all available audio drivers.
- Simply click on the Download button to download the audio driver.
- Once downloaded, double click on the executable file that you have downloaded and install the app.
That’s it! You are done. This is how you can manually install the audio driver on your Windows 11. The steps might vary a bit depending on your PC’s manufacturer. Still, in all cases, you need to explore the driver catalog on the manufacturer’s website and download the latest version of the audio driver.
4) Run the Audio Troubleshooter
We will run the Audio troubleshooter to find and fix driver-related issues in this method. If the Audio Troubleshooter detects any problem related to the audio, it will attempt to fix it by installing the latest audio driver. Here’s how you can run the Audio Troubleshooter in Windows 11.
1. First of all, click on the Windows 11 Start menu and select Settings.
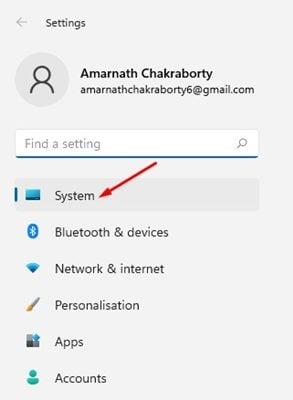
2. On the Settings page, click on the System tab on the left pane.
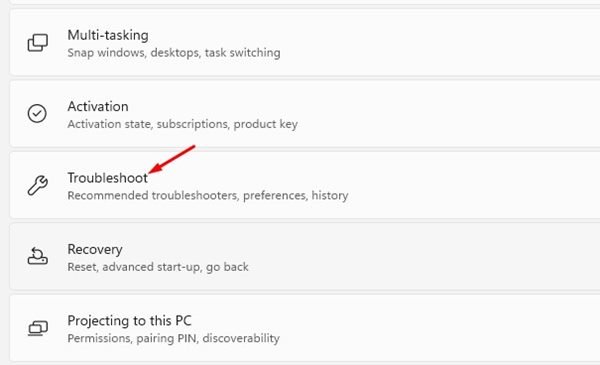
3. On the right, click on the Troubleshoot.
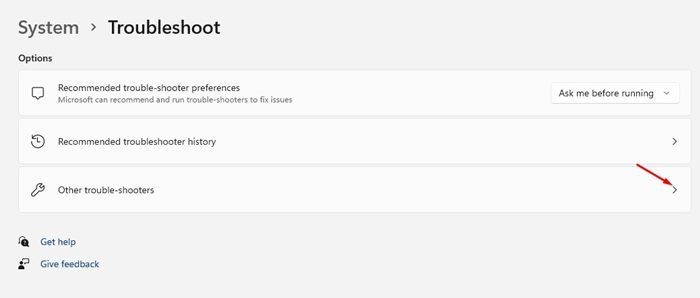
4. On the Troubleshoot page, click on the Other trouble-shooters.
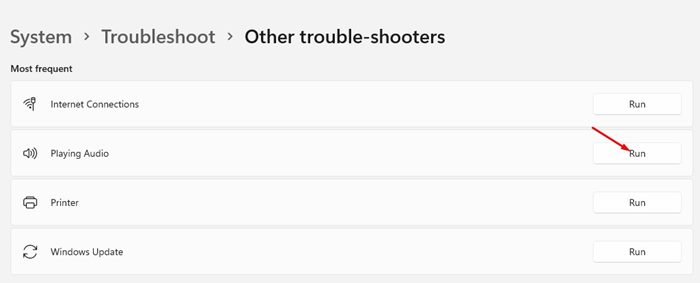
5. Now, click on the Run button behind the Playing Audio on the next screen.
That’s it! The Audio Troubleshooter will run and attempt to fix the audio problems by installing the latest sound drivers. You need to follow the on-screen instructions to complete the troubleshooting process.
So, these are the few best ways to install the Audio/Sound driver in Windows 11. If you are experiencing sound-related problems while using your PC, the first thing that you should do is update or install the audio driver. If you know any other ways to install audio drivers, let us know.
The post How to Install Audio/Sound Driver in Windows 11 (4 Methods) appeared first on Tech Viral.
