Apple introduced lots of important privacy and security features with iOS 15. For example, on iOS 15, you get mail protection, safari privacy protection, etc.
In addition, the new iOS 15 brings a new level of privacy to web browsers beyond what VPNs offer.
iOS 15 also has a feature known as iCloud Private Relay. So, in this article, we are going to talk about the Private Relay feature. Not only that, but we will also share the steps to enable the feature on your iOS devices.
What is iCloud Private Relay?
When you browse the web, the information contained in your web traffic, such as IP Addresses and DNS records, can be seen by your ISP or the website you visit.
So, the role of iCloud Private relay is to protect your privacy by ensuring that no one can see what sites you are visiting.
At first glance, the feature might look like a VPN, but it’s different. When you enable Private relay, your requests are sent through two separate internet relays.
The first relay assigns you an anonymous IP Address that maps to your region but not your actual location. The second one generates a temporary IP Address, decrypts the website’s name you requested, and connects you to the site.
In this way, the iCloud Private relay protects your privacy. If you enable this feature, no single entity can identify who you are and which sites you visit.
Steps to Enable iCloud Private Relay on iPhone
Well, it’s pretty easy to enable iCloud Private relay on iPhone, iPad, or iPod touch. But, first, you need to follow some of the simple steps shared below.
1. First of all, open the Settings app on your iOS device.
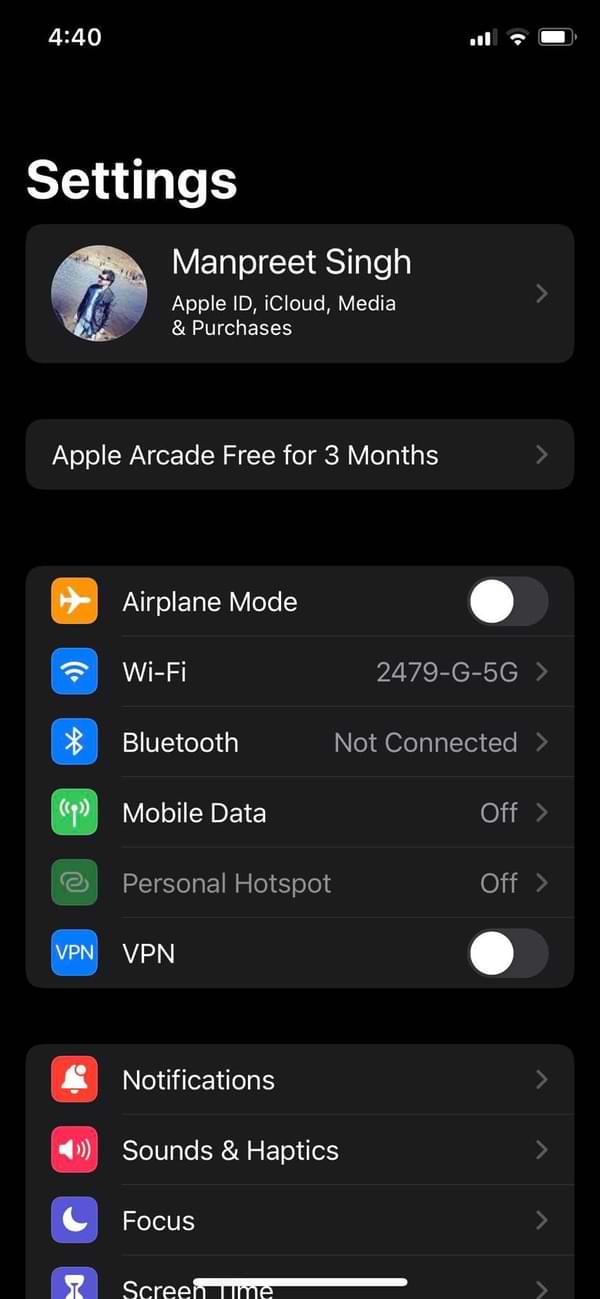
2. On the Settings app, tap on your profile at the top and select iCloud.
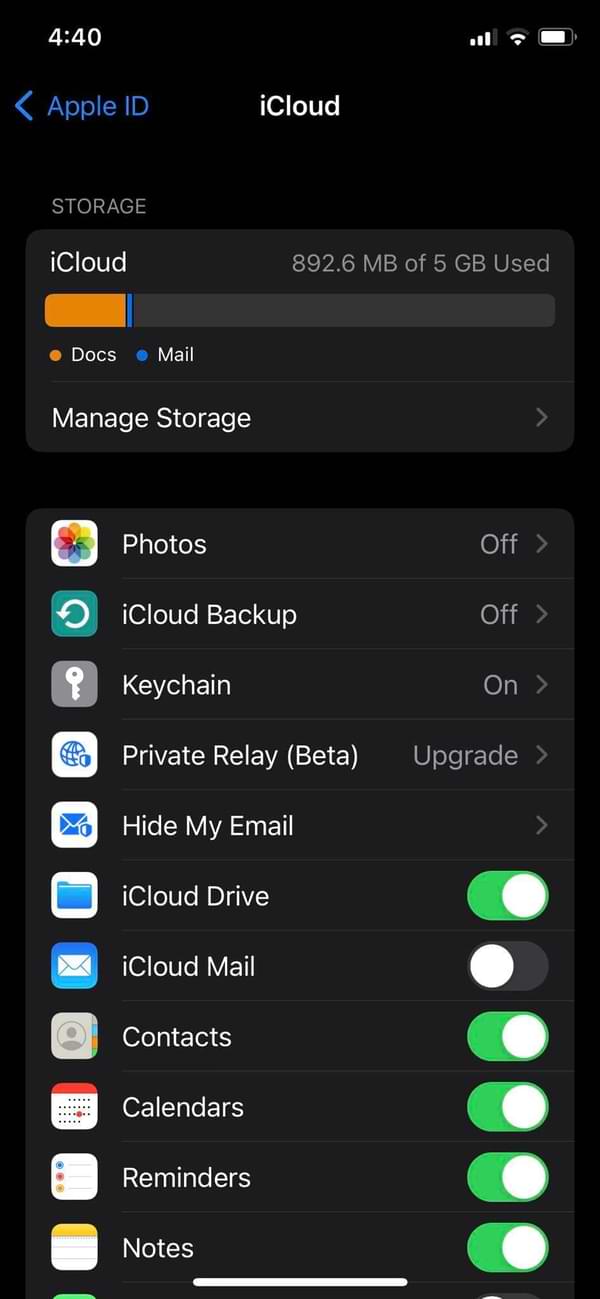
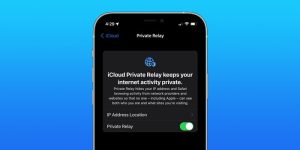
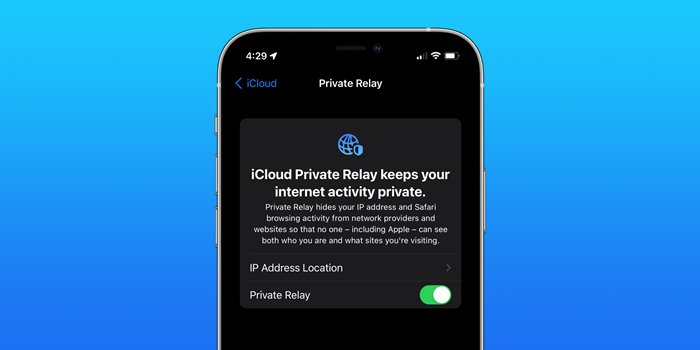
3. Then, on the next screen, find the Private option Relay. And Private Relay is included with iCloud+.
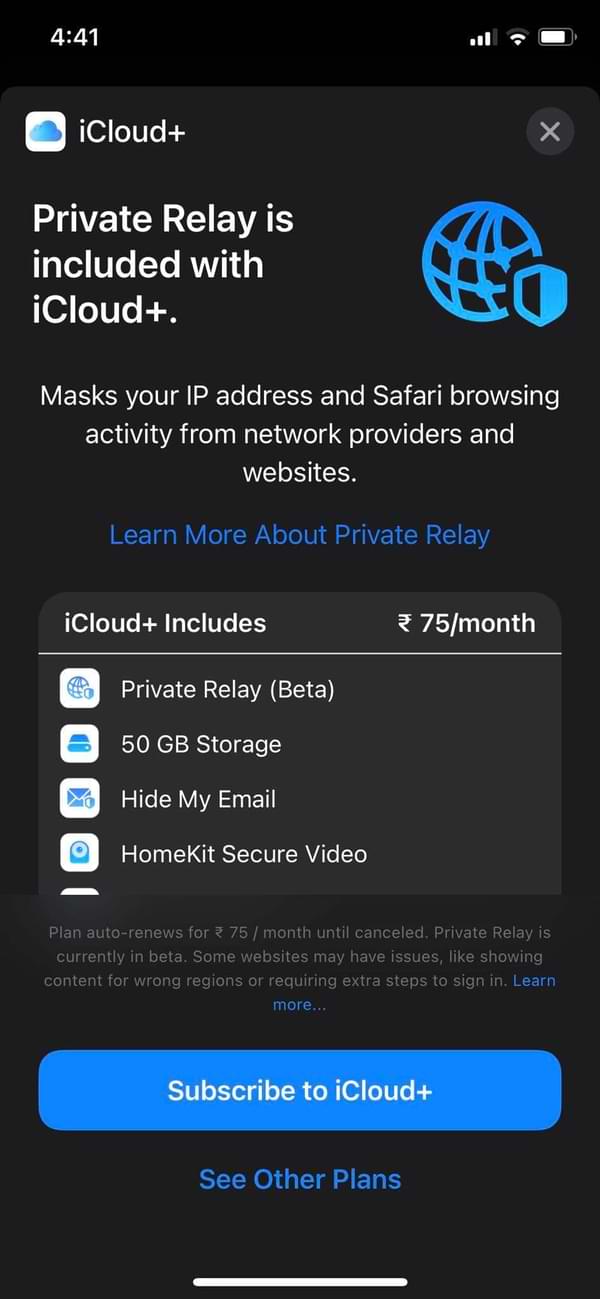
4. On the next screen, turn on Private Relay with iCloud+.
That’s it! You are done. Now iCloud Private relay will automatically protect you on all networks your join.
So, this guide is all about how to enable iCloud Private relay on iPhone. I hope this article helped you! Please share it with your friends also. If you have any doubts related to this, let us know in the comment box below.
The post How to Enable iCloud Private Relay on iPhone appeared first on TechViral.
